Friday, January 17, 2014

"Get it Covered" Advanced Slipcover Guide

About 3 years ago, I came out with my "HOW TO SLIPCOVER" DVD. I have gotten many great reviews and pics back of slipcovers that you have made with the help of my DVD. It makes me so happy and proud, that so many of you have learned a new skill and some have started businesses! Really truly, it brings tears to my eyes of how proud I am of you! 

Over the years I have received  emails with questions on the harder items (telephone arms, wingbacks, when to hem a certain way, pattern matching, etc. Because of this, I decided to offer an ADVANCED GUIDE in PDF form. 

"GET IT COVERED" is 59 pages of pics and instructions. It builds on the skills you learned from my "HOW TO SLIPCOVER" DVD. I am assuming you have made at least one slipcover and are familiar with the process. Lots of what I show you are aha moments  to save you time and heartache. For example, I have figured out a way to pattern match that is amazingly simple, yet it took me 12 years and tons of slipcovers to figure it out. 

If you are interested in starting a slipcover business, make sure to check out my "WHOLE 9 YARDS"--starting and running a successful slipcover business (PDF download).


$55 Click to purchase-- instant download
Add to CartView Cart


sample page from book


$55 Click to purchase-- instant download
Add to CartView Cart


sample page from book


$55 Click to purchase-- instant download
Add to CartView Cart


Photobucket Photobucket

Wednesday, January 15, 2014

Pair of Striped Chairs

For the past month, I have been super motivated to finish my "Get it Covered" Advanced Slipcovering Guide. I have spent numerous days taking pics and editing. Today I finished my hard edit! I'll just need to run through it one more time and then it'll be READY! I am super excited to get this available. I have been working on it, on and off for the past 9 months. It should be available by Monday! 

56 or so pages of tips and tricks on skirts, wing backs, sectionals, hemming options, curved inside back items, parson chairs, scrolled back, telephone arms, english rolled arms, arm pads, t-cushions, etc.!

Here's a sneak peak of one of the pages!


My client had these pair of chairs that were the same, but had been upholstered in different fabrics. She wanted to make them a pair again. They had tufted back cushions, that I had to remove first.

Chairs--BEFORE


To cut off attached cushions--cut on cushion side of the seam, so you aren't left with exposed springs that you will need to patch up.


Chairs---AFTER - She wanted a second set of cushions out of the floral to mix it up at some point. We decided to keep the band out of the stripe, to tie it all in.


 This fabric was a pretty heavy denim, so I did a 1.5" blind hem on the skirt.


 I covered the back cushions and decided to keep them "pillow style" with kiss pleats instead of boxing them.


Here's another job I dropped off last month. I was pretty proud of the matching job! I debated centering the large floral on both cushions--but it was too overwhelming since the cushions were petite. Ultimately, we decided to center the large floral on the back cushion and let the print flow down to the seat.


 My client was very happy to get rid of the old hawaiian palm leaf print that was on them.


Side Note--

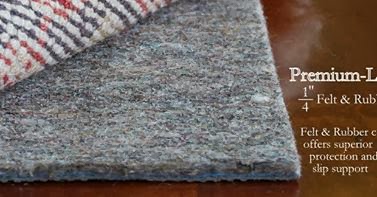
I just received some rug pads from www.rugpadusa.com. The quality was great! If you need rug pads check them out! These are great for those flat weave rugs that tend to shift and slide around and don't have much substance to them. They have different thicknesses of pad.


Photobucket Photobucket


Wednesday, January 1, 2014

Topstitched Couch

First off-- I am happy to tell you I have been working hard on my "Get it Covered" Advanced Slipcovering guide. I have all the pics submitted and I have started to edit! I am hoping to have it ready in the next few weeks! Now on to my post...


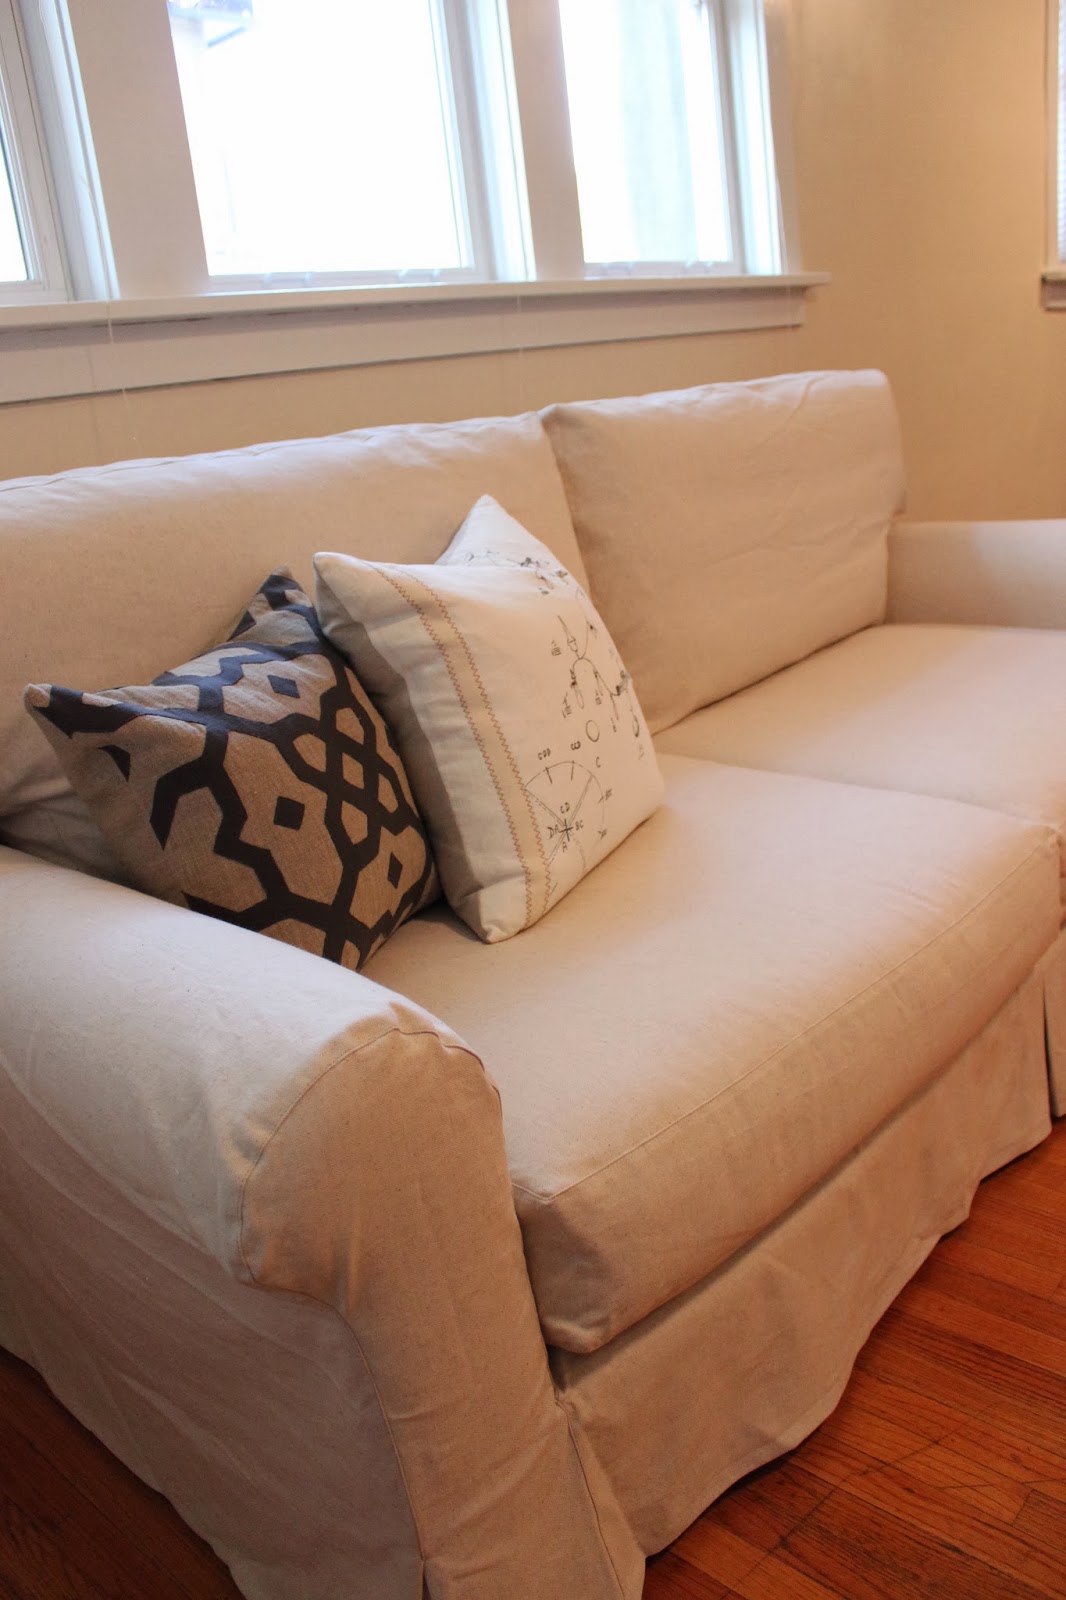
My client was moving into a new place and wanted a new slipcover for her couch. She got a beautiful neutral cotton with tiny specs in it. She decided to mix it up and not do piping. She wanted a waterfall skirt and topstitching.


Couch--BEFORE


Couch--AFTER--neutral with topstitching and waterfall skirt. I did a 1" blind hem on this skirt.


 I love the way it turned out.

Topstitching detail.


SIDE NOTE---


We decided to spend Christmas at the cabin this year. We spent 3 nights there and I think the kids got a years worth of tubing in. When we first arrived there was 18" of powder on our steep driveway that we trudged up with all our bags, food, and gifts. By the time we left the driveway was a slick sheet of ice from all the tubes and sleds.


As soon as we arrived the kids wrapped lights on the stairway and hung the stalkings. Our little tree stand is a cinderblock with a towel wrapped around the tree (stick).

We survived 3 nights! I wasn't sure how it was going to go. 3 nights is the longest we've stayed there at one time. 800 sq ft, no computer, no tv, no friends= a lot of family time! We played lots of card games, went on walks, sledded, and watched some movies. PERFECT.


My sister offered to do our family pics again this year! How could I say no? This is my favorite family pic ever! Everyone is truly happy! No one was fighting or crying….This was taken just off the running path that I run a few times a week. I can't believe how tall our boys have gotten! I think this will be the last year they are all shorter than me.

Photobucket Photobucket

Tuesday, December 17, 2013

Ticking Stripe Chair 1/2

First off, I am enjoying my time off this month! No real big plans, just what ever comes up and we feel like doing. Making dinner regularly and baking, cleaning out clothes bins, organizing, working on my "Get it Covered" Advanced Slipcovering guide, running in the snow, shopping, etc. So good to have a breather and not feel the pressure of my normal schedule. Baking Cinnamon rolls is on the list for today  (request from Luke).

My client picked a grey/cream ticking stripe from www.fabric.com for this chair. I love grey! Her husband still loved their comfy chair 1/2--but the fabric didn't match the updated room.

 Chair--BEFORE


 Chair--AFTER-- I had enough fabric to self line the skirt, so it hung nicely.


I love the pop of coral from the pillows.      

 I ran some piping down the inside arm to finish it off.


Now her whole room matches!


SIDE NOTE-- Did a quick change on my bedroom. I wanted to eliminate the mossy green and bring in some brassy gold. Here was my room before http://customslipcoversbyshelley.blogspot.com/2012/01/my-bedroom.html
Bedroom--BEFORE


Bedroom--AFTER
My sister gave me a queen size duvet about a year ago with matching shams--worked out great for a foot warmer and back pillows. I wanted to eliminate the 3 Euro pillows along the back, so I could actually see my headboard. It took a little getting used to, at first it felt like I need 3 back pillows to fill out the King bed. NOW I love the simplicity of it.


 I sold my turquoise chevron chair and replaced it with this vintage gold arm chair that cost me $20!


 I sewed some curtains- lining them with a king size flat sheet. I was pretty excited when I realized a flat sheet cut up the center was the exact width and height I need to line my two panels and I could utilize the hem of the sheet. PERFECT!!!

I went through my stash and made the gray houndstooth pillows and pieced the front pillow. I was able to use some selvage off some vintage velvet fabric which looked like ribbon to sew down the 2/3rds seams.


 I also switched out my chandelier with one I found at Restore for $25.

I you- tubed and figured out how to install a light fixture and had my 13 yr old son help me, while Heber was at work. I wanted it up and didn't want to wait patiently till Heber was ready to do it.


 I am loving all the brassy gold stuff! I went thrifting with my sister a few weeks ago and spent $10 on my new end of the hall ensemble (cart included!)

Photobucket Photobucket