This project was inspired by the show, "Love it or List it". I was watching one of the episodes and my mind started thinking of what I could do to my house to make it function better. I had this idea a few years ago...to build a new garage and convert the existing garage into a bigger front room/ kitchen area, but I could never justify the cost ($25,000).
BUT...... I could justify it if it was for a new work room. A work room that could pay for itself. I was super excited about the idea (1st weekend in November). I called Heber at work that night and pitched the idea of not having to carry furniture down to my work room in the basement, and not using a spare bedroom upstairs to hold chairs until I was ready to work on them, and not taking up his parking space with more furniture in the garage.
All he said was...."sure sounds good, let's do it." We both didn't know what we were in for....3 months of remodeling in the dead of winter, and NUMEROUS trips to Home Depot and unexpected costs, and frustrations.
Side of house---BEFORE---Fence and Willow tree needed to be removed as well as a section of concrete driveway.
Our neighbor has a dump truck and a back hoe, so he came and helped out.
This was a few days before Thanksgiving---the weather was still great and we were able to prep the area for the cement pad for the new garage that we were having built by
A-Shed. We figured we'd pay someone else to build the new garage while we worked on converting the old garage.
The boys were all a huge help taking down the tree. We planted this tree when I was pregnant with my first baby---it has grown huge over the past 12 years and shaded the garden area too much. SO I didn't feel too bad taking it out, the space will be more useful as a garage.
Two weeks after Thanksgiving the cement pad was poured. We had also started to make progress on the conversion. I removed the garage door, and we removed all the sheetrock inside to prep for framing, electrical and duct work to be done.
New 19' x 26'garage built by A-shed on Dec. 18th. They installed the garage door the next day. This went up in a day! Fully built, shingled, and painted in 6 or 7 hours by 5 or 6 guys! Completely worth the money ($15, 700 which included gutters, electrical, all materials, garage door, and openers).
Inside of old garage---tons of potential. 10' ceilings, 2 large windows, lots of natural light, and I can load furniture from the driveway.
I was pretty proud of myself--I figured out how to disassemble this whole door and removed it mostly on my own---and I sold it for $125 on KSL.com
My dad came to help frame the new walls inside the concrete stem walls and frame in the french doors.
AFTER---French doors with new stucco. We had them re-stucco the whole side of the house so it would not look patched.
These were some pretty cold days...in the teens. Luckily Heber's buddy lent us a huge propane heater that blew tons of warm air to keep the space somewhat heated while my dad and Heber worked.
The french doors were framed in and set on Dec. 18th--the same day the new garage was built. It was an exciting day for me!
New walls were framed on the three exterior sides...leaving us with double thick walls for tons of insulation. We installed R-30 unfaced with R-13 faced to fill the 12" thick walls. This was after we hired an electrician to run all the new outlets and cut four can lights and get wires ready for a chandelier to be hung in the center of the room over my cutting table.
At this point we also extended the duct work from the home through the attic space and did 3 registers and 1 return. Heber's buddy from the fire station helped him draw up what we would need and gave him a hand for a day and got it done.
We also decided to hire out the sheetrock and tape and mud. Worth the $ of not having to borrow a trailer and load all the sheetrock and try to keep it dry on the drive home on slushy roads, and then try to install it ourselves. We paid $1100 for the materials and labor. Materials alone were going to cost us $500---so I figured for $600 more Heber could have a few weeks off.
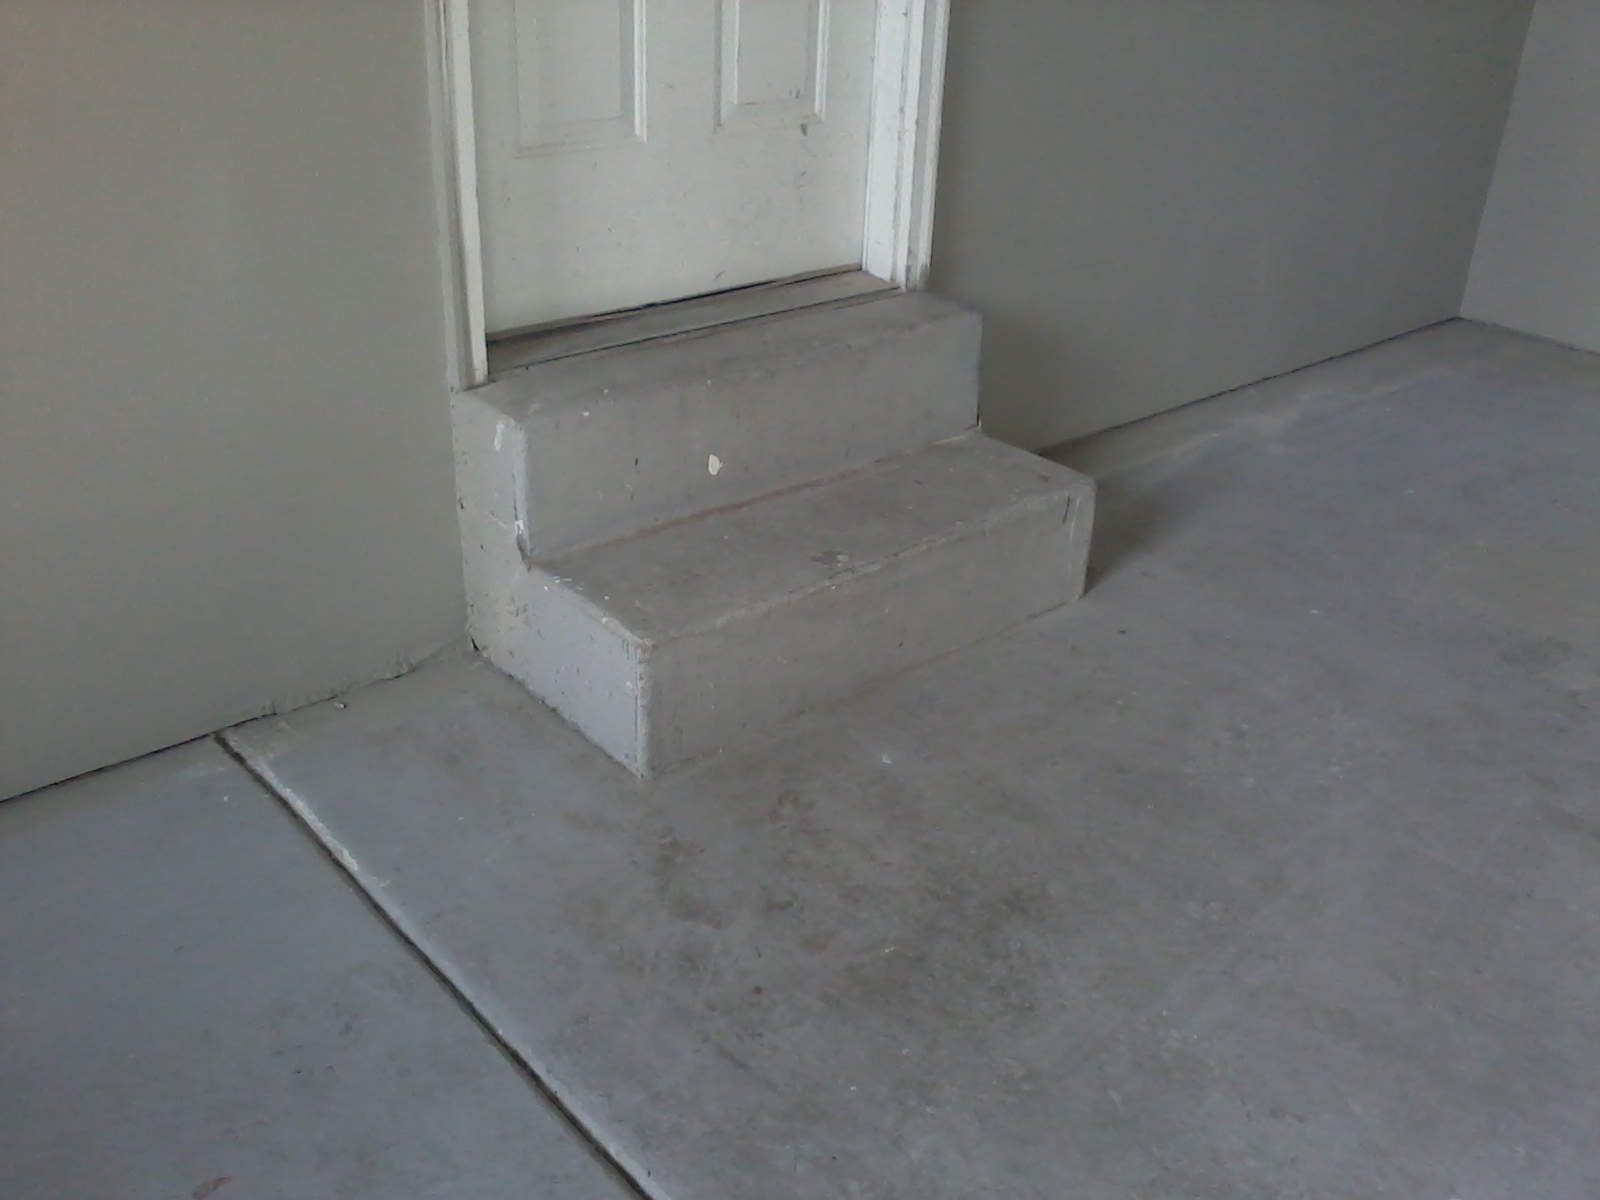
Now onto the stairs....small concrete steps that go into the kitchen from the work room.
My dad drew up some plans to make a larger/ safer landing and stairs. He even stopped at Home Depot on the way out and picked up what we needed, to save us a trip to Home Depot.
We framed around the concrete steps.....kind of like a slipcover over the stairs.
I was planning on painting the steps and doors a mossy green, so we were able to use MDF as the top step and real wood tread for the second stair.
Stairs and door painted. I primed with Gripper brand primer, and then painted 2 coats of green, and about 4 coats of polyeurthene. Before this... we painted the walls gray (Woodsmoke by Gliden).
Next Heber installed all the outlets (electricians just did the rough install), and our friend Jared helped hang the Chandelier that I bought off KSL.com for $50.
Oh and then we had to do some self- leveling....11 bags @$30/ bag. It's not perfect, but it was the best we could do with the sloping garage floor. Originally is sloped 4" from one end to the other. We were able to raise it to be only a 2" difference. Self leveling is only supposed to be used up to 1".
Then we laid the grey 12mm laminate floor. Heber and I finished 2/3rds of it and then he had to go back to work. I was anxious to see the whole thing done---So my 12 yr old son helped me lay the last 1/3 of it...chop saw and all! I was pretty proud of myself and him!
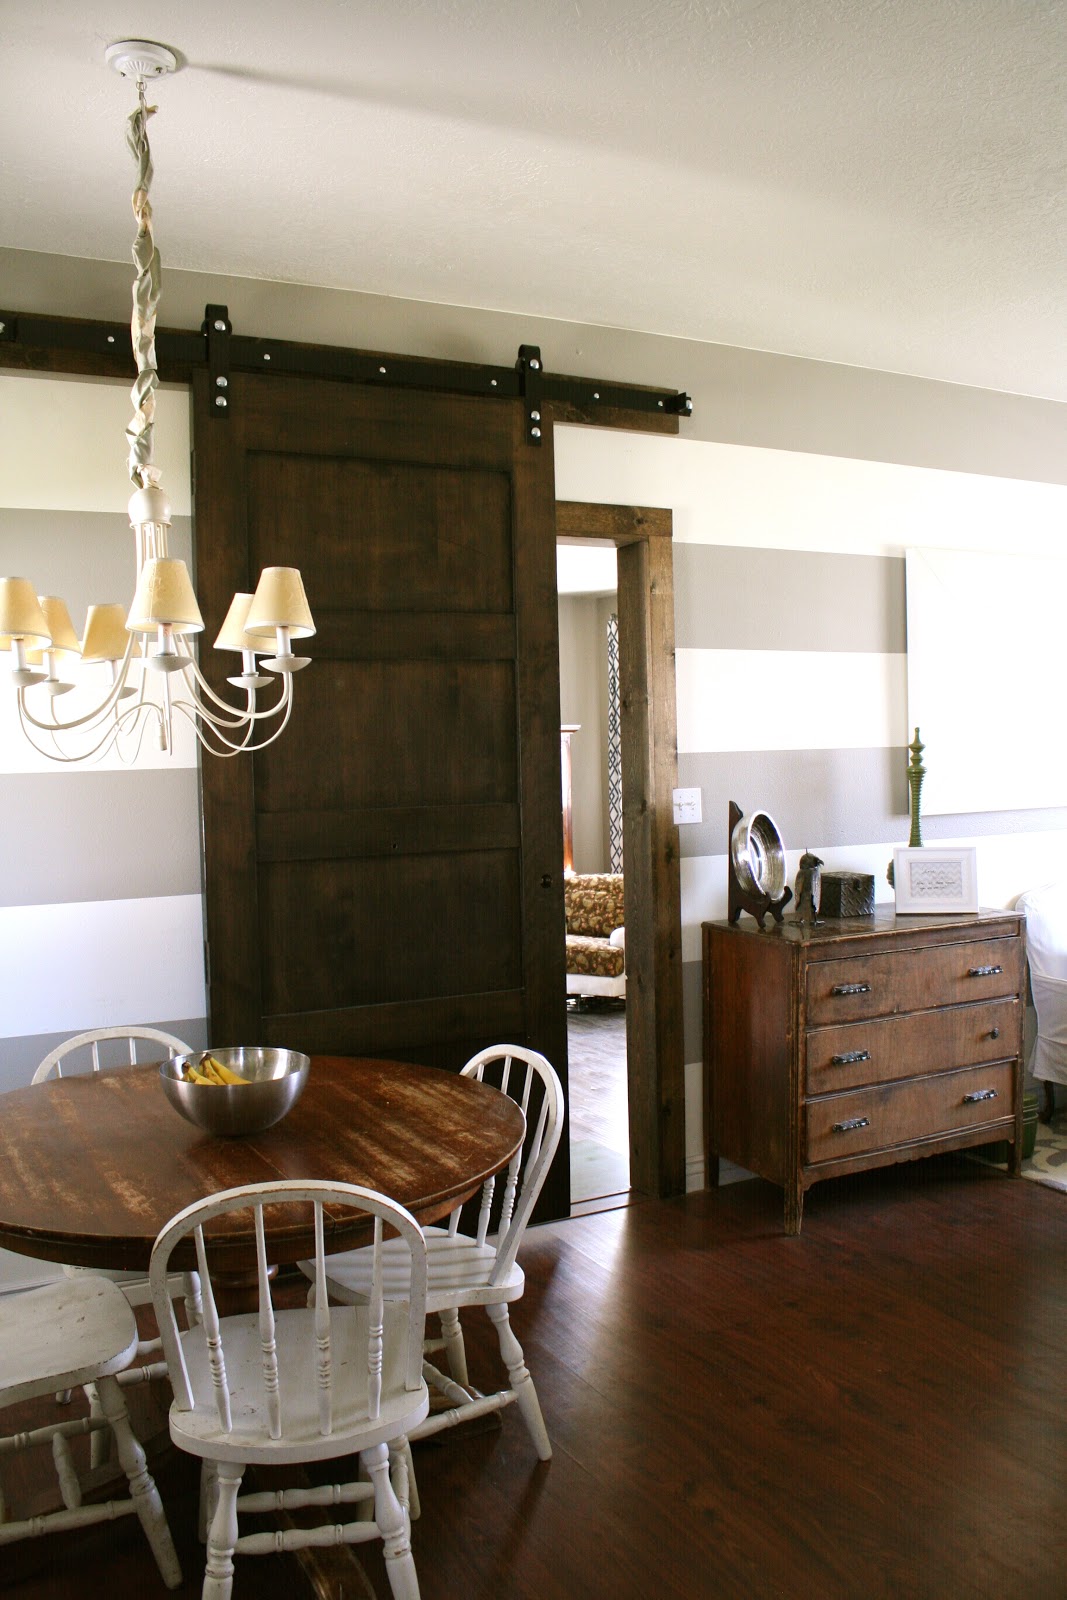
At this point, I was starting to see the end that was in sight. We bought 3" pine boards and stained them with Walnut stain and used them as baseboards. I like the rustic look. We removed the white door, and had a sliding barn door installed---so I can close off the work room from the kitchen when I want to.
This is my curtain fabric...navy blue and white linen.
Front room BEFORE barn door install
Front room AFTER Barn door install. We got the barn door hardware from
Kong Sheds. We also paid for them to install....well worth the $120.
Yes, that is a large scratch in the door---it's character right? I like character and rustic things.
Kong Sheds did an AWESOME job!
I got the door from ReStore for $50 (I talked them down from $100) and managed to fit it in the back of my friends SUV.
M'am that's not going to fit...."Really?....I've got 4" to spare!"
Barn door goes into my new work studio!
My running partner cringes at my white baskets under my cutting table...but until I find some cool large wood or metal crates....they are going to have to work.
New Work Studio--AFTER
Found my mossy green fish and tackel box at DI---I keep all my buttons, needles, and trinkets in it.
Found this dresser at Savers for $10!!! I did nothing to it...LOVE IT! I fit it in the trunk of my husbands Hyundai Sonata and tied it in with some piping. "M'am that's not going to fit!"...."Can you just help me lift it in?"
Heber's Sonata....I started my business in this car 12 years ago...I usually know what's going to fit. (Don't worry this chair was mine...not a clients). Now I have a 5x8 enclosed trailer and an SUV. Gotta start somewhere, right?
Found this great hutch on KSL.com for $175---love the dark wood. It stores a bunch of my thread, zippers, and fabric
Loved the Hardware.
We stained pine boards with "Dark Walnut" stain from Minwax....Easiest trim job ever! Staining is tons faster than painting.
LONG STORY SHORT------Here's the Main before and after pic
Before---2 car garage
AFTER--- 500 sq. ft work studio (sewing room)
AFTER----Outside of house--


