Monday, January 23, 2012

My Bedroom

Right before Christmas, I met up with Camille to walk around IKEA...just for fun with no kids. OF course I saw these blue chunky weave curtains that I fell in love with. I was in the middle of redoing my guest room, but I loved them so much I decided to use what I had for my guest room and use the beatiful blue curtains for my room.

My bedroom before looked like this.


Bedroom--- BEFORE... notice the bench, endtables and lamp.....I changed them all out.


Bedroom--- AFTER

Long story short...by the time I went back to IKEA the curtains were sold out, and I was only able to buy one panel which was the sample. My original plan was to make the set of curtains into a duvet cover. I settled on making it a footwarmer instead.


I ordered the green bird fabric from http://www.fabric.com/ It's called Aviary Moss by Thomaspaul. I ordered another fabric that had turquoise and green together....but it didn't work out, the green was way too bright! It was almost fluorescent.


I had to come up with a pillow that tied all my colors together. I sifted through my stash and found a small piece of turquoise velvet, green stripe, green linen, and some gray solid. It was perfect...and on the first try too. I love it when it comes together and I am not second guessing myself and changing my mind.


I also found some scraps of some gray/white damask fabric that I used to slipcover my lamp shades.


I also ordered this blue chevron for my chair from http://www.fabric.com/. I don't like being super matchy, so I put together this bolster pillow out of some more scraps and some gray ribbon. I decided to not use piping on the pillows...just to give it a different feel than I normally do.


I picked up this amazing coffee table at the thrift store for $30. I loved the dark wood and the detail of the carving and the little finial things on the feet. It was perfect for a bench at the end of the bed.


I picked up the magazine basket and turquoise suit case at the thrift store as well, another $5 well spent.


I bought this turquoise artichoke votive holder at Hobby Lobby. I set it in the white bowl that Logan made me for Mother's Day a few years ago.


I kept my white duvet and bedskirt....that's why I like to do neutral duvets and slipcovers. That way you only have to switch out your pillows for a quick change.


I switched out my lamps for ones that were in the front room....a little bit more weighty and substanial.

I kept my tan curtains.... They bring warmth and they worked with the wood tones.


I ditched my black end tables that were too big and showed off all my junk underneath on the shelf. I picked up a few sewing machine cabinets at the thrift store for $15 each and used them as my new end tables. The height and scale was perfect. I also loved the dark wood. They are a little scuffed up...but like my dad used to say, "it adds character"


I kept the gray Euro pillows...they still worked with the new lamp shade covers. I also painted my armoir gray too.


Close up of the footwarmer...How beautiful is that fabric! This is what started it all......


Photobucket

Thursday, January 19, 2012

Menswear Dining Room

INSPIRATION
This was the inspiration picture that my client had for her dining room.... beautiful!


BEFORE
I was able to get the host and hostess chairs done before Christmas for her...so she kept the red parson slipcovers on and played up the holiday theme. She wanted to go more contemporary.....


AFTER
Here is her dining room now, with the finished parson chair covers, new modern light fixture and bamboo shades replaced her previous swag window treatments.


She had been holding onto the damask fabric for a few years and found the blue chenille textured menswear looking fabric on clearance at Joanns. It was amazingly soft!


I love the eclectic look of all the fabrics, and the boldness of the damask print. In this setting the damask has a different vibe than it normally does...Funky and bold!


She has had her table for 20 years! She said she's painted it with every trend including the crackle paint....love that it's black and the chair legs are brown wood. I love mixing woods, metals, and different finishes. I don't like when things are super matchy...you know bed-in-a-bag doesn't work for me. I don't want my comforter to match my shams,curtains, bedskirt, and lamp shades.


I loved the texture of the blue fabric...I could pet it for hours!


I did have to do zippers down the right outside back...the chairs tapered in toward the bottom, and the slipcovers wouldn't be able to come off without zippers.

I also made sure all the repeats in the black damask were in the same spot on the inside back/outside back/seat. To do this I put a pin in the chair I was fitting on the center backs and center seat and centered the pattern over that pin each time.

Also the blue had a nap (color looks different if upside down) to it. The standard is to pet the fabric down, so when you slide/get off the chair's seat you want the nap to be brushing down. Then make sure the nap is running down on the rest of the chair.


Pin It


Photobucket

Friday, January 13, 2012

Host and Hostess chairs

This client was in the middle of remodeling and trying to finish by Christmas. She had me slipcover the Host and Hostess chairs (chairs at the head of the table) in a gray menswear type fabric. First of all I love gray and I love menswear! She decided to keep the red parson chair slipcovers for Christmas.

I just finished the new covers for the red chairs today and will be taking them back next week.....I am so excited to take them back and see it all put together. She's doing an eclectic menswear type theme. Some of the parsons are going to be black/cream damask and some of them are going to be this awesome navy blue chenille design fabric. So watch next week for some more pics with her new parson slipcovers.


Hostess chair before...great lines and beautiful legs. She bought the chairs from DownEast Home.  I believe they are from Pottery Barn.


After in the gray menswear fabric.


I did a band around the front with piping along the top edge.


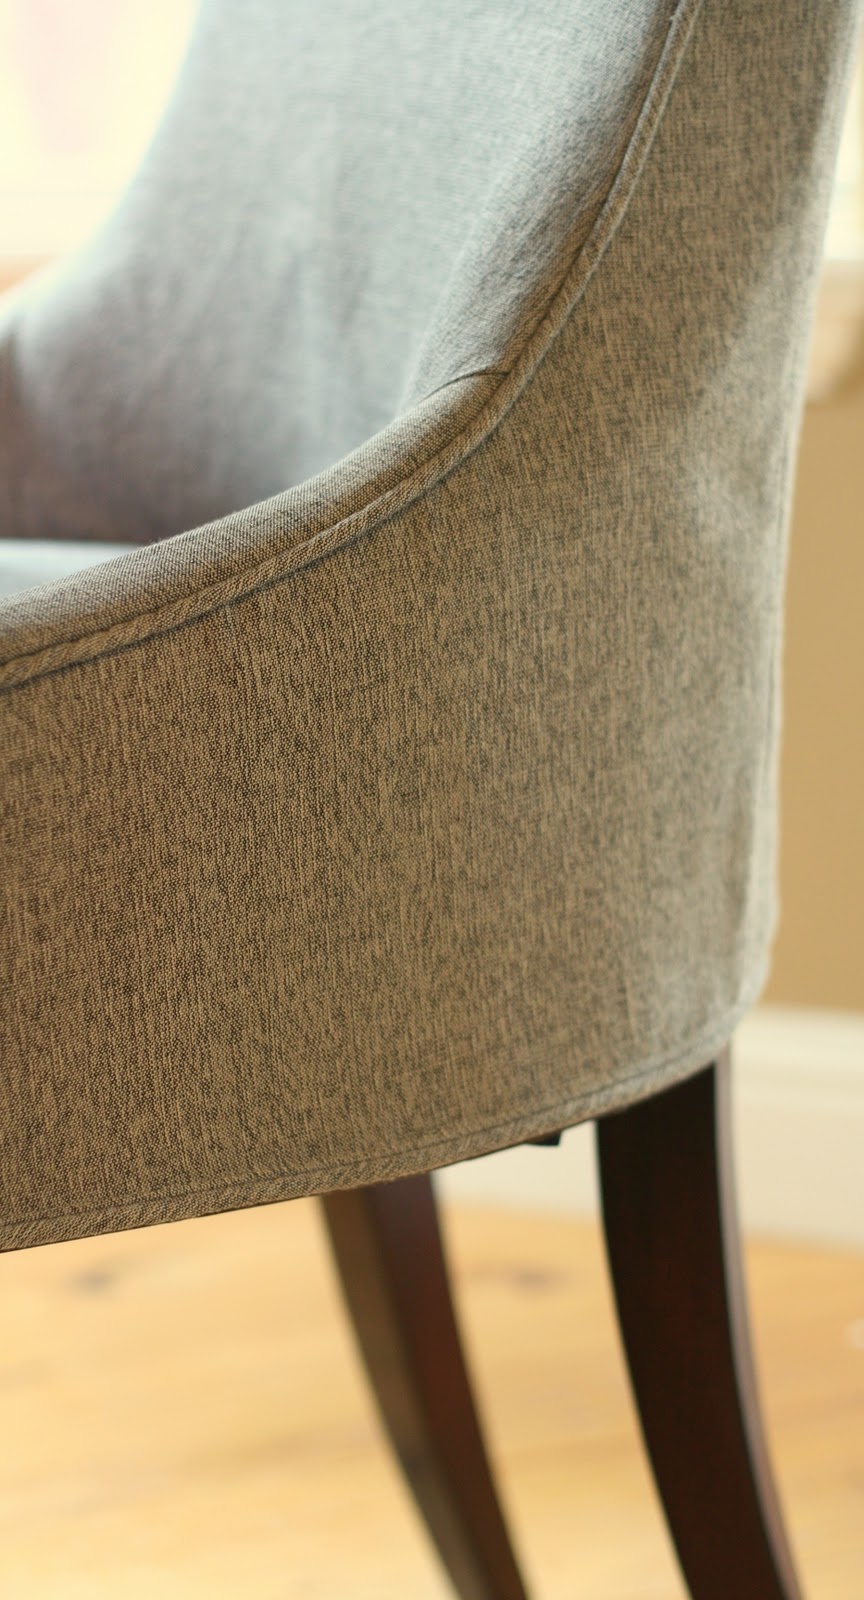
This fabric was great, it shaped really well to all the curves of this chair.


Side view.


Another side view.


The whole room....I was able to miss all the construction in this shot, her whole kitchen was being worked on. She's planning on changing out the valances for the new menswear look, once I get her other chairs back.


I love the look with the host and hostess chairs being a different fabric.


Another shot of the room.


Here is my clients inspiration picture for her room....how BEAUTIFUL is this room???!!! I love all the menswear influence and all the eclectic fabrics. The chandelier is awesome too!


SIDE NOTES


Here is my little guy (our little elf) on Christmas Day. He put this old costume on a few days before Christmas and was dancing around in it....Heber's mom made this clown outfit for Halloween when Heber was about a year old...so it's 37 yrs. old!  A bit snug on a 7 yr. old.....hahahaha.  Anyhow we had him put it on and carry in the gifts to Heber's family. We thought it was hilllarious!


Maui was great! The boys loved going there for their first time...we snorkeled, whale watched, went to a Luau, surf lessons, and went on a blue water rafting tour.


Here we are on a drive around the north end of the island...we got out to check out all the surfers on the huge waves! The call that area "Jaws"


Here are my two oldest boys heading out to their surf lesson.


We rented snorekling gear for the week for all the boys....they loved it! By the end of the week, the older two were snorkeling out in the ocean without their noodles. They loved seeing all the fish and turtles.

Photobucket

Tuesday, January 10, 2012

Drop Cloth Wingback Chair


Hey Ladies....this project is for week 2 of the "So You Think You Can Sew" Contest. This week's theme is "repurpose"--- so turn something into something else.

Voting starts tomorrow...Wednesday at 8am EST and ends Thursday 8pm EST. So head on over and vote!
Click the following link to vote....Mommy by Day and Crafter by Night 

I had lots of ideas, but when it came down to it....I had to stick to my slipcovers. Also the fact that I had to write up this post before I even knew if I made it to week 2...we will be in Maui when this post is due. So I decided to stick to a project that I had already finished.


Painter's drop cloth's have gotten to be pretty popular to use for slipcovers. The texture and nubbiness is great....but if you are planning on washing it a TON, you should go with the oatmeal/cream duck cloth...which you get from Joanns or Walmart. Dropcloths usually have thinner spots and flaws/runs that you'll need to work around, and they don't hold up as well as duck cloth to numerous washings.


My client's wingback chair...great shape, but the fabric wasn't working so well for her. The original cushion was 3" thick (typical for older chairs) and flat and hard looking. She had seen the down envelope cushion I had done on Jenn's chairs, and wanted to do the same for hers.


Before of the arm....not the typical wingback arm. I kind of liked it. I decided to run piping down the outside wing around the front of the curve and back into the inside wing.

So my piping went around one arm up and over the wing across the upper back and then down the other wing and around the front of the other arm.


Then I ran the vertical piping on the front of the arm to connect in the inside and outside arm. My client wanted the legs to show as much as possible, but still wanted a skirt. I self lined the skirt. The skirt was 8" tall... I cut strips 17" tall and folded them in half and ironed the fold (8"+8"+.5"+.5") (.5" is seam allowance).

Check out the new down cushion!!! I ordered a down envelope cushion with 5" boxing and reused the existing cushion's 3" foam.

Down envelope cushions have a zipper in the back and you slide in your foam (usually 2" less in thickness than your finished box height). That way you have a down cushion with a foam core.


Another After


Here you can see the piping on the top of the arm....ending in the inside wing tuck-in. I did do a small seam attatching the inside wing to the top of the arm.


Outside wing.


Side note---- here was our darling Christmas tree at the cabin. The boys had a great time decorating it. My running partner, Camille made me these awesome homemade ornaments out of old books. Notice the cinder block stand and the trunk is wrapped in a towel to help it to stand up.

This tree reminds me of a tree one year when I was probably in 5th grade. One day while driving to church my dad and brothers saw a HUGE (6-7 ft tall) tumbleweed next to the road. My dad is frugal like me and joked that we should take it home as our christmas tree. 3 hours later we were driving home from church and the tumbleweed was still "available". They threw it on top of the car and drove it home.

My mom got some white snow flocking spray and sprayed the whole tumble weed white and shaped it a little bit at the top. It was great all the ornaments without strings would just stick to the tree. All six of us kids still talk about that tree to this day...good memories and good times.

Monday, January 2, 2012

Jenn's Parson Chairs


I was chosen as one of the top 12 in the "Sew You Think You Can Sew" Contest at Mommy by Day Crafter by Night Blog out of 175 projects!!! Voting starts Wednesday (Jan 4th) 8am EST and ends Thursday (Jan 5th) night at 8pm....so head on over and vote for your favorite project (bottom 3 get eliminated every week). One vote per computer, phone, or ipad.


Week One theme for the contest is for "the Home". 

Here is the project I decided to share. My client Jenn picked up 8 Hendricksal Ikea parson chairs for her dining room. She also picked up some cream muslin and a couple sets of tan linen curtains from Ikea as well.


Here is the before....I loved the dark legs on the parson chairs.


Here is the after.....

Jenn wanted to use the muslin on the main body...but it was too thin. SoI doubled it up (lined it) to make it a better weight so you couldn't see the pinkish hue from the underneath chair.


We used the 2 sets of tan linen curtains as the outside back of the chairs and the top ruffle of the skirt. The tan linen ruffle was 4" tall and the muslin ruffle was 6" tall.


I gathered on the two sets of ruffles separately to ensure a tighter gather.

The muslin 6" finished ruffle is self lined, I cut 13" strips and folded them in half....(6"+6"+.5"+.5") (.5 is seam allowance at top).

To reduce bulk, the tan linen 4" ruffle has a 1.5" blind hem along the bottom edge. I cut strips 6" tall (4"skirt +1.5" for hem +.5" seam allowance at top)


Of course I had Jenn prewash all her fabric, so that she can wash her slipcovers and they won't shrink in the wash. Tip--- Wash in hot with double liquid fabric softener to help with the wrinkles, and dry on High to ensure maximum shrinkage. Depending on your washer size, you can wash 7-10 yds in a load.


After the skirts were sewn on, they seemed a little "fluffy", so I took a hot iron and steamed and ironed the ruffles flat. I also made sure to iron the edges good to make them look crisp...especially the cream muslin layer since it was self lined.


I loved the contrast of having the outside back in a different fabric.


Jenn is tons of fun and is awesome at decorating and does event planning in the Utah area...if you are interested in her services, her site is http://www.jpieperdesign.com/ .
Since September she has had me slipcover her wingbacks, ottoman, and oversized chair. Love this girl!


How BEAUTIFUL is her new dining room??!!!!! We got it done in time for her Christmas Party.


Side Note--- Heading to Maui on Thursday!!!! The kids are super excited!


Photobucket